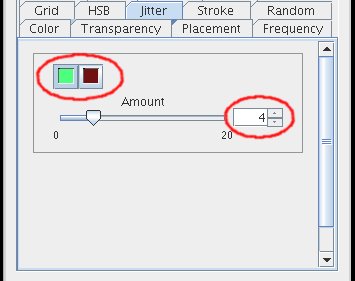

20. Next, adding some jitter to the bristle will provide some variation while painting the mortar onto the canvas. Jitter derives a random value equal to or less than the amount specified, and adds it to the x and y coordinates of the points that make up the bristle's geometry. The result will often be a "sketch-like" appearance.

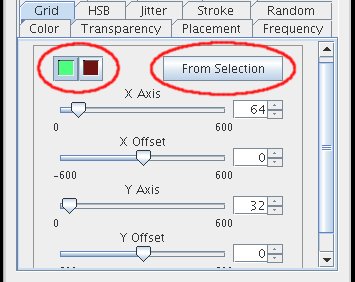
21. Since the mortar is a pattern that appears at well-defined intervals, we'll use the Grid tab to limit the drawing of this bristle to those intervals. In this particular case, since the intervals will be the same height and width of the bristle itself, using the From Selection button will automatically enter the correct values.

22. Now we'll paint the mortar onto the canvas. Since the first bristle is no longer necessary, it can disabled by selecting the bristle, right-clicking in the Bristles list, and selecting the Disabled option. Disabled bristles are not rendered while painting, and are not visible in the Brush Designer.
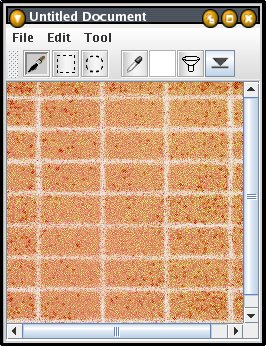
Make sure the third layer is selected in the Layer Manager window, and then paint the mortar onto the canvas. When this is done, you may end up with something like this:
