Tutorial- How to create a brick texture
- 4
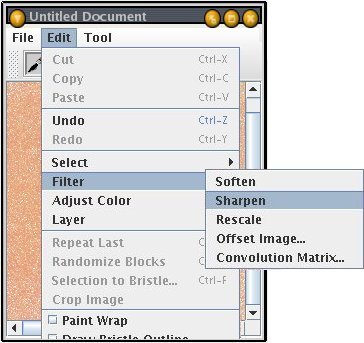
10. Now we'll add a little bit of "roughness" to it. We can do this using the Sharpen filter:
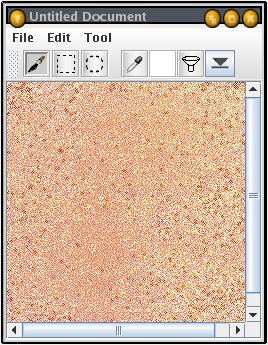
11. The rusult:
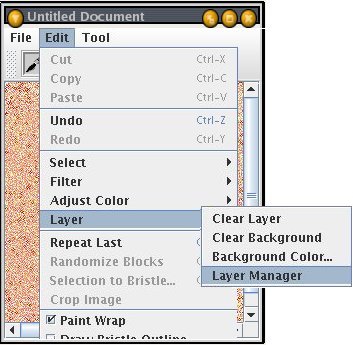
12. Not bad, but a darker color underneath will provide a more saturated appearance. In order to do this, we'll add a second layer. First, open the Layer Manager: