

Tutorial- How to create a brick texture
- 3
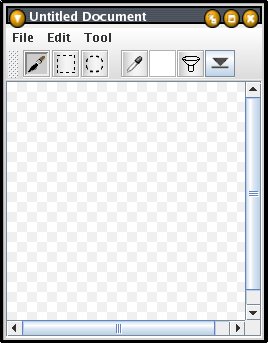
7. A new canvas window should appear at this point. The gray checker pattern indicates that the layer is transparent (they are by default) , as opposed to having a background color:
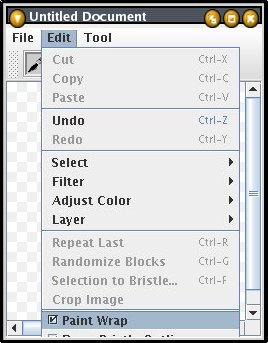
8. We'll want this texture to be seamless, so we'll enable the Paint Wrap option in the Edit menu of the canvas window:
9. After painting your first layer of color, you should end up with something similar to this:
